







How to Measure for an Apron: A Professional Fit Guide
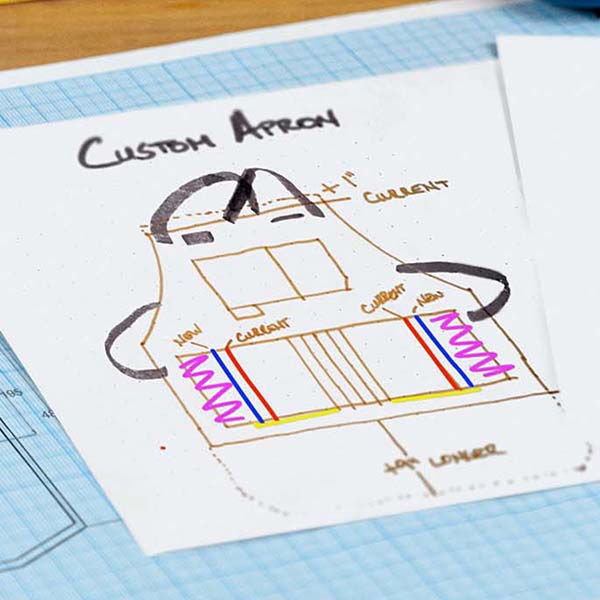
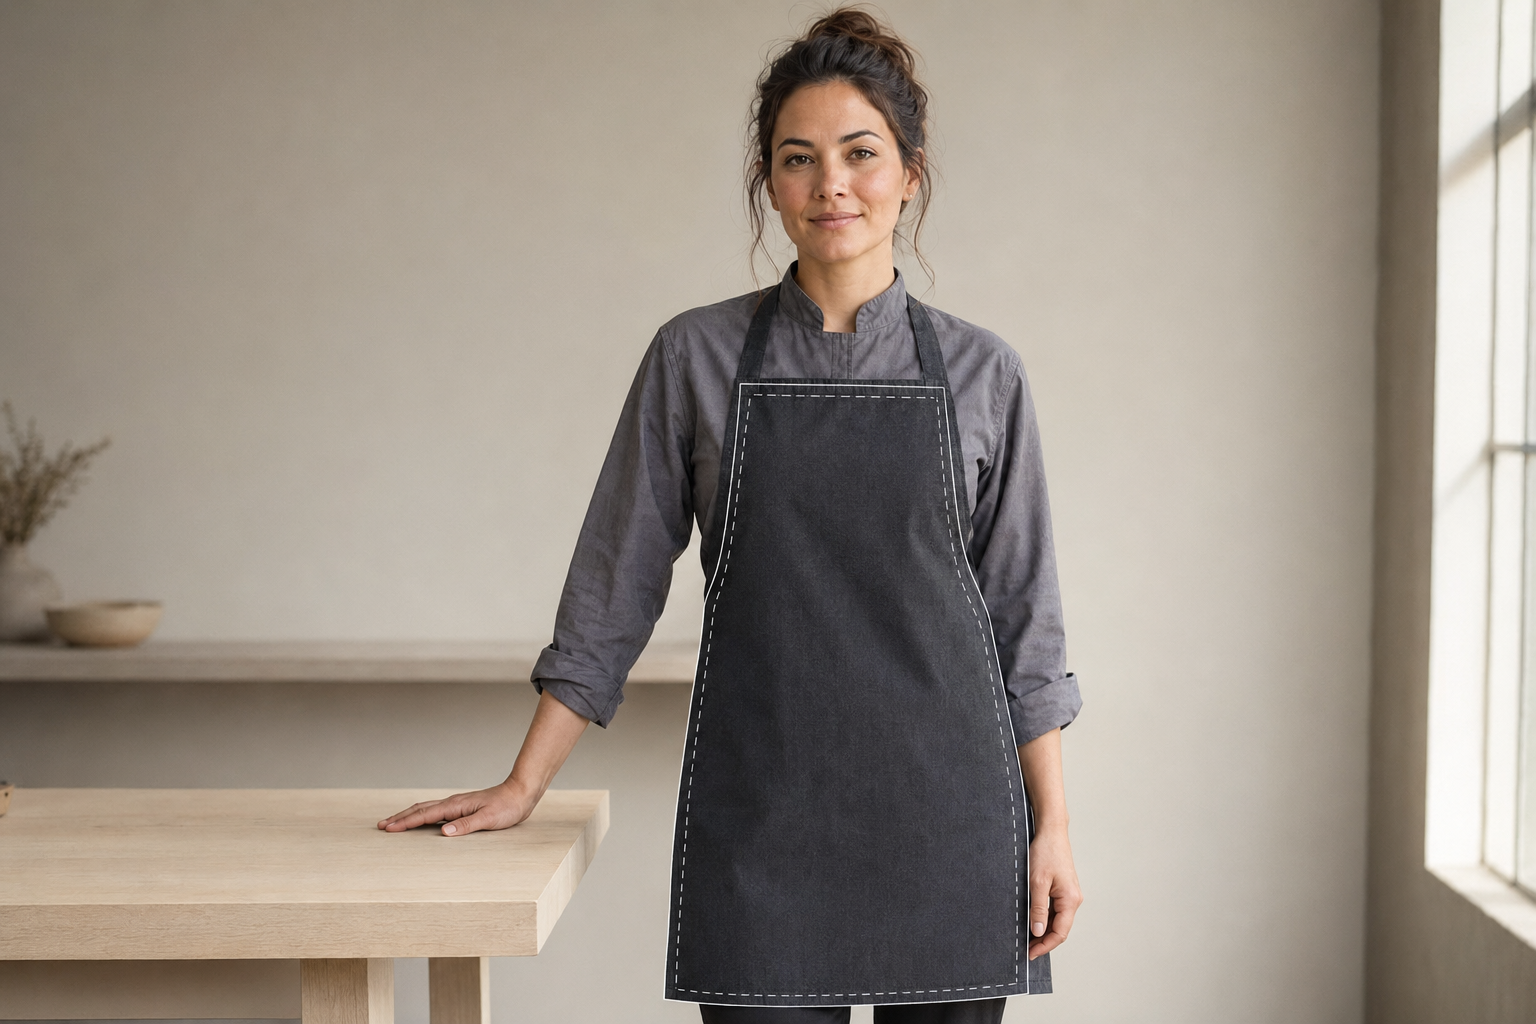
The right apron size is not determined by your height and waist circumference alone. To measure for an apron correctly, you need three finished-apron dimensions: bib width, apron width at the waist, and overall length from the top of the bib to the bottom hem.
But there is one decision to make first: how much coverage does your work actually require?
A server moving fast between crowded tables may want less fabric around the legs. A cook working around splashes may prefer more coverage. A potter sitting at a wheel needs the apron to remain useful after the fabric settles across the lap.
Same human body. Completely different job. Completely different fit.
Here is the short version:
- Bib width: Measure across the desired top edge of the apron.
- Apron width at the waist: Measure the apron panel from side to side, excluding the ties.
- Overall apron length: Measure from the top center of the bib to the desired bottom hem.
- Coverage: Decide whether you want the apron to cover only your front, reach your sides, or wrap farther around your body.
If you already own an apron that fits well, measure that apron while it is lying flat. That is the most reliable method.
If you do not, grab a flexible measuring tape and keep reading.

First, stop looking for the “correct” apron fit
There is no universally correct place for an apron to end.
An apron is working equipment. Its dimensions should match your movement, workstation, exposure, and comfort, not an arbitrary fashion rule.
Before touching the measuring tape, answer four questions:
- Do you work mostly standing, walking, sitting, bending, or kneeling?
- What regularly lands on your clothes?
- How much side coverage do you want?
- How warm is your workspace?
Those answers determine whether you need a short, long, narrow, wraparound, or split-leg apron.
The more fabric wrapped around your body, the more clothing it can cover. But added coverage can also mean more weight and retained heat, especially with heavier or less breathable materials. NIOSH notes that certain protective clothing and equipment can hold heat and moisture against the body and reduce normal cooling. Fabric, coating, airflow, activity, and room temperature all affect that tradeoff. Review NIOSH’s guidance on clothing and heat burden.
Translation: maximum coverage is not automatically maximum comfort.
Choose the coverage your work justifies.
Choose apron length by how you move
Your height gives us context. Your job gives us the answer.
Servers and waitstaff: keep the path clear
Servers walk quickly, change direction, use stairs, squeeze between chairs, and carry items while moving through crowded rooms.
A short or mid-thigh apron usually provides useful front coverage without putting excess fabric around the legs. A waist apron may be enough when the main jobs are carrying order pads, opening bottles, handling checks, and dealing with minor spills.

Some service roles still benefit from longer coverage. Formal dining, beverage service, bussing, and hot-food handling can create different requirements. OSHA advises restaurant workers to follow workplace procedures and use protective equipment provided when preparing or handling hot items. See OSHA’s restaurant serving guidance.
Good starting point: Short to mid-thigh, with enough width for the front of the uniform and enough freedom for a full walking stride.
Browse professional restaurant aprons for examples of short, long, waist, and bib configurations.
Chefs and cooks: coverage without fighting the fabric
Cooks move constantly, but their legs also work near hot liquids, oil, food splashes, and messy prep surfaces.
A mid-thigh or knee-length apron offers more clothing coverage than a short service apron. A front slit or split-leg construction can make longer coverage easier to work in because the panels move more independently while walking, bending, and crouching.
OSHA states that a clean, dry, properly worn apron or uniform can help protect restaurant workers from burns and hot-oil splashes. It also recommends long-sleeved cotton shirts, pants, and task-appropriate hand protection. Read OSHA’s cooking-safety guidance.
That does not mean an ordinary work apron is specialized heat, flame, or chemical PPE. Employers should assess actual workplace hazards and select appropriate protective equipment for them. OSHA’s PPE assessment checklist explains that process.
Good starting point: Mid-thigh to knee-length. Consider a split-leg or front-slit design when longer coverage begins restricting movement.
Explore split-leg apron designs built for more leg independence.
Potters and ceramic artists: measure for the seated position
Potters have a problem standing measurements do not reveal.
An apron can look perfectly long while standing and then shift upward when the wearer sits at the wheel. The fabric has to travel across the lap, and one wide front panel may gather between the legs or leave parts of the thighs exposed.
Simply adding more unsupported length is not always the cleanest answer. A long split-leg design can distribute coverage across both thighs and allow each panel to follow the leg more naturally.
When choosing the length, sit at a chair or wheel at approximately your normal working height. Measure from the desired top of the bib, down the torso, across the lap, and toward the point on the leg where you want the apron to end.
Good starting point: Knee-length or longer while seated, preferably with overlapping split-leg panels when broad thigh and calf coverage is important.
See Under NY Sky’s full-coverage pottery aprons, designed with split-leg construction for seated work.

Barbers, hairstylists, colorists, and tattoo artists
These professionals constantly switch between standing, leaning, reaching, and sitting. Their coverage needs also vary by service.

A barber focused on cutting may prioritize lightness and mobility. A colorist working with liquids may want more front and side coverage. A tattoo artist may prefer enough length to protect the lap while seated without creating a pile of fabric around the chair.
The apron material matters as much as its dimensions. No single fabric or coating protects against every substance. Where chemicals are involved, use the product’s care and resistance information plus the substance manufacturer’s safety guidance—not assumptions based on appearance.
Good starting point: Mid-thigh to knee-length, adjusted for sitting, workspace temperature, and the substances used during the shift.
How to take the three apron measurements
Measure over the type of clothing you normally wear at work. Stand naturally. Do not pull the tape tight against the body.
If possible, ask another person to help. Twisting to read the tape can change the very measurement you are trying to capture.
1. Bib width
The bib is the upper section covering the chest.
Choose where you want its top edge to sit, then measure the desired width from one side of the bib to the other. This is not your full chest circumference.
A wider bib gives more upper-body coverage. A narrower bib can feel less restrictive around the arms.
Keep the measuring tape straight across. Do not wrap it around your torso.
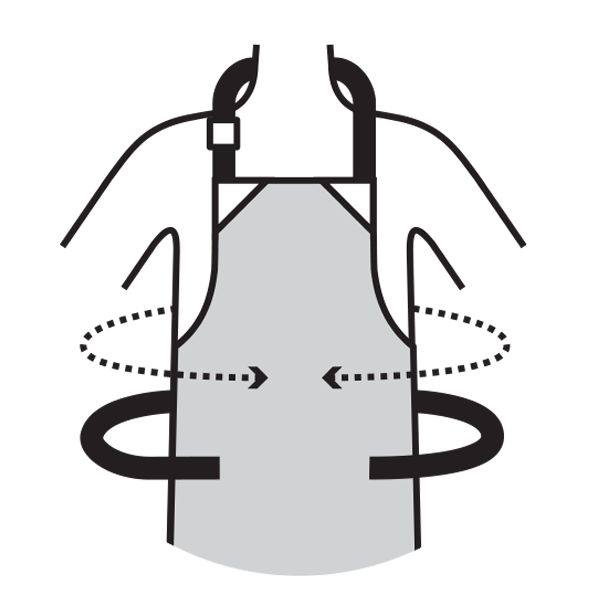
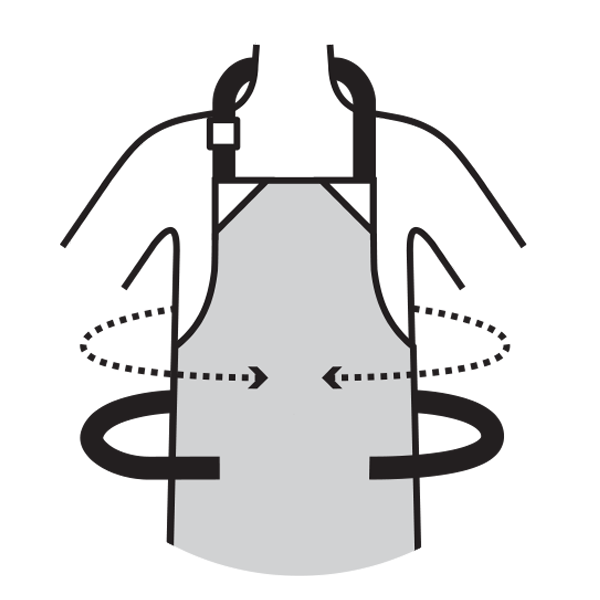
2. Apron width at the waist
This is the width of the apron panel at waist level, not your body’s waist circumference and not the length of the ties.
Decide where you want the side edges to fall:
- Front coverage: The apron covers mainly the front of the body.
- Side coverage: The apron extends toward or around the sides.
- Wraparound coverage: The apron reaches farther around the body.
Use a flexible tape to measure between those two desired edge points. Follow the body’s contour rather than holding the tape in a straight line through the air.
More wrap provides more clothing coverage. It also adds material around the torso, which may feel warmer during a long shift. In hot commercial kitchens, heat exposure itself can become an occupational concern. OSHA identifies commercial food-service environments as potential heat-stress settings.
Choose deliberate coverage, not the largest number available.
3. Overall apron length
Place the beginning of the tape at the highest point where you want the apron bib to sit. Measure down the center front to your preferred hem position.
Common reference points include:
- Upper thigh
- Mid-thigh
- Just above the knee
- At the knee
- Below the knee
- Upper calf
- Lower calf
Do not begin the measurement at the waist unless you are ordering a waist apron.
For seated work, take a second measurement while sitting. Confirm that the apron still reaches the area you want covered without creating unsafe excess fabric.
The best shortcut: measure an apron you already like
If you own an apron with the right fit, do not reverse-engineer the dimensions from your body. Let the good apron do the work.
Lay it flat on a level surface without stretching the fabric. Then record:
- Bib width across the top
- Apron width at the waist, excluding ties
- Overall length from the top center of the bib to the hem
Photograph the apron with the measuring tape visible in each position. That gives a custom-work team a much clearer reference than height and waist size alone.
Also note whether the apron has been washed. Some fabrics may change dimensions depending on fiber content and care history.
Five mistakes that produce the wrong fit
Mistake 1: Sending only your height
Two people of the same height may have different torso proportions, work positions, and preferred hem lengths.
Height is context. It is not a finished-apron measurement.
Mistake 2: Confusing body size with apron width
A 25-inch waist does not tell us whether you want narrow front coverage or a panel that wraps around your sides.
Send the desired apron-panel width, excluding ties.
Mistake 3: Measuring from the collarbone one time and the waist the next
Use one consistent definition:
Overall apron length runs from the top of the bib to the bottom hem.
Label the measurement clearly in every photograph, diagram, order note, and customer-service message.
Mistake 4: Measuring only while standing
If you work seated, measure seated. If you climb stairs, test your stride. If you bend or kneel, check what the hem does during those movements.
The fitting room is your workstation.
Mistake 5: Assuming more coverage is always better
Too little coverage defeats the purpose. Too much can add heat, weight, bulk, or interference around equipment.
OSHA’s restaurant-preparation guidance specifically warns workers against loose clothing around machinery. Review the food-preparation safety guidance.
The winning size is not the biggest one. It is the one that covers what needs covering without fighting the job.
Your final apron-measurement checklist
Before submitting an order or alteration request, confirm:
- Bib width
- Apron width at the waist, excluding ties
- Overall length from the top of the bib to the hem
- Measurements provided in inches or centimeters
- Preferred front, side, or wraparound coverage
- Preferred standing and seated hem position
- Primary profession or task
- Normal work clothing considered
- Existing-apron photos included, if available
- Special mobility, heat, substance, or equipment concerns disclosed
Three measurements tell us the dimensions.

Your work tells us what those dimensions need to accomplish.
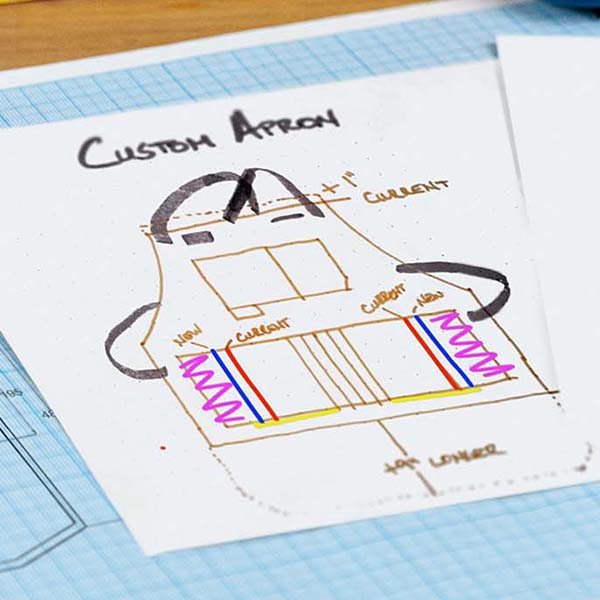
If a standard size cannot deliver that combination, send your measurements and work requirements through the Under NY Sky custom-order service. You will give the team a concrete starting point for reviewing the alteration and preparing an accurate mockup.
Frequently asked questions
How do I know what apron length I need?
Choose the length according to your movement and desired coverage. Shorter aprons generally allow more unrestricted walking, while longer aprons cover more of the legs. Measure from the desired top of the bib to the preferred hem position. If you work seated, confirm the length while sitting too.
Is apron width the same as waist size?
No. Waist size is a body circumference. Apron width is the finished width of the apron panel at waist level, excluding the ties. The correct width depends on whether you want front-only, side, or wraparound coverage.
Where should an apron end?
There is no universal rule. Servers may prefer upper- or mid-thigh freedom, cooks may want mid-thigh or knee coverage, and seated potters may benefit from longer split-leg coverage. The correct endpoint is where useful coverage and unrestricted work meet.
How should I measure for a custom apron?
The most reliable option is to measure a well-fitting apron laid flat. Otherwise, provide bib width, apron width at the waist, and overall length from the top of the bib to the hem. Add your profession, working position, preferred side coverage, and measurement units.





Leave a comment (all fields required)